1. To create a register, select Add Register on the Registers tab in the Register Management Activity. Select Edit Register to edit an existing register. The process of adding and editing registers is the same.

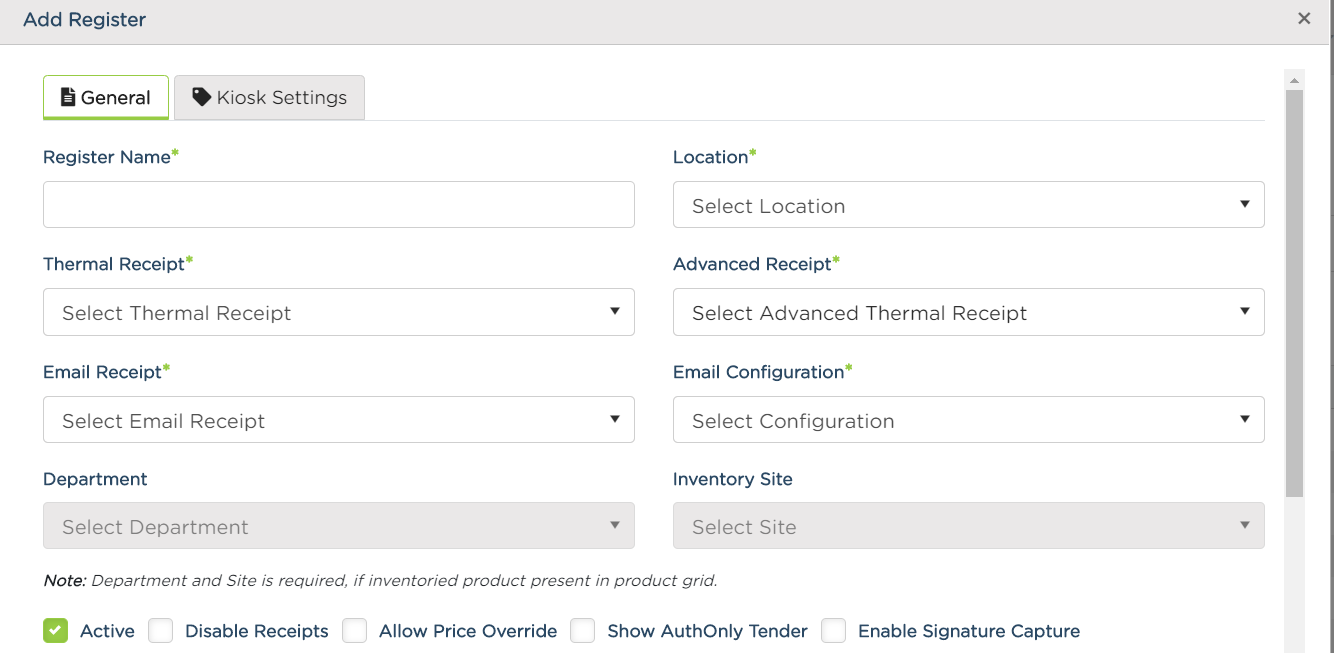
2. Fill in the information in the form shown below and click Save Changes.
- Register Name
- Location
- Department
- Site
- Thermal Receipt - This is the receipt template for a thermal receipt printer. 90% of customers don't use this type of receipt but since it's a required field you'll need to select a template from the dropdown.
- Advanced Receipt - This is the receipt template for an advanced receipt printer. Most customers use this type of receipt for their receipt printers. The receipt will default to an advanced receipt over the thermal receipt when an advance receipt printer is associated with this register or employee login.
- Email Receipt - Receipt template for emailed receipts
- Email Configuration - Select MailGun SMTP.
- Check Active or Deleted, and/or Disable Receipts Allow Tipping is not quite ready.
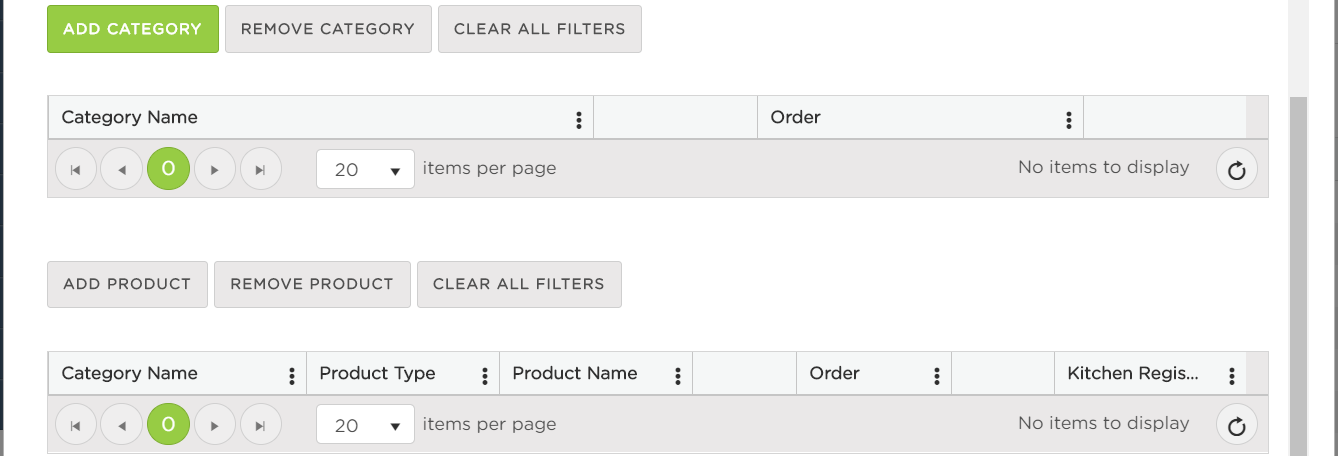
- Select Add Category and add each category you want to display on this register.
- Select Add Product and add each product. Only products in the selected categories will be options for selection.
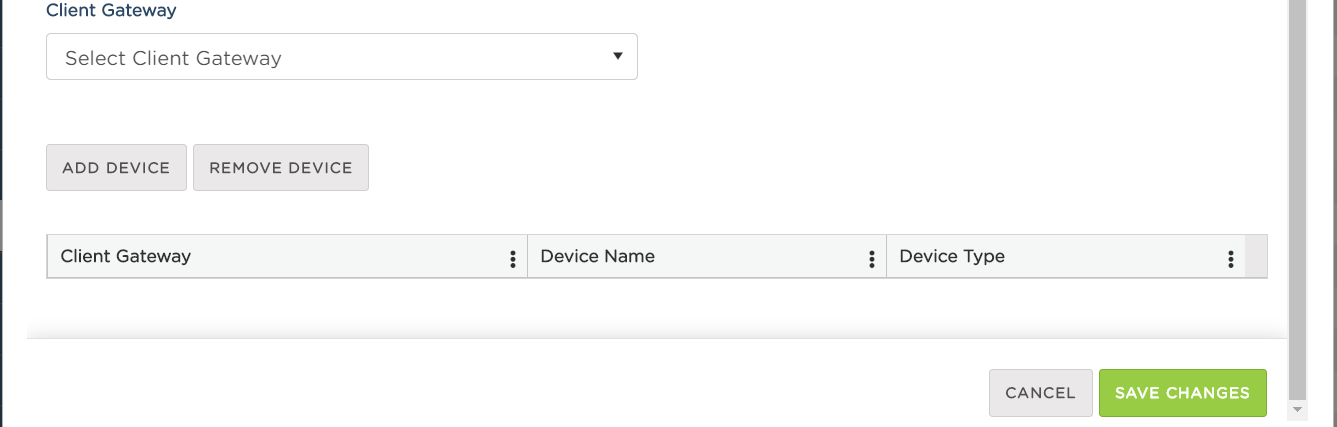
- Client Gateway (come back to this section)
3. The order is the order the products and categories display on the register. You can change the order by clicking on the green arrows. You can alternatively drag and drop the product rows in the grid to put them in the order you want. After adding products to the register, you can select a kitchen register. A kitchen register may also be selected at the time the product is added as shown in step 4.
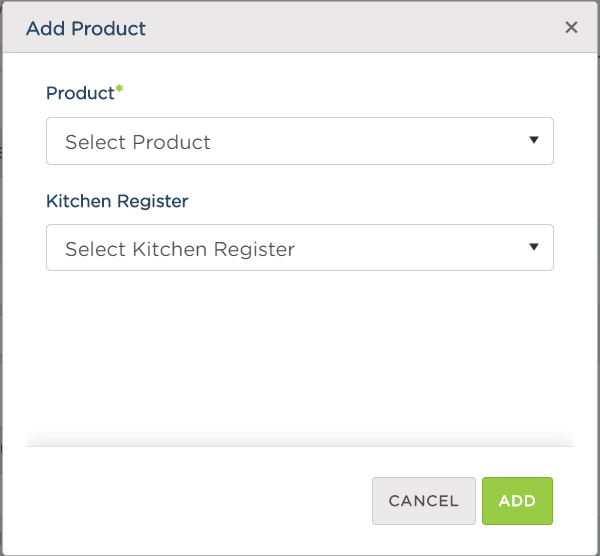
4. When you click on Add Product, this screen pops up. If you want the product to print to a kitchen register (or monitor), select which kitchen register.
5. After saving the register, add the register login activity to each employee that needs access to the register. Click here to read about login activities.
Comments
Article is closed for comments.