The self-service kiosk module allows customers to place orders without employee interaction. This results in reduced payroll, shorter wait times, and a modern atmosphere. This module is a premium add-on and is available at an affordable monthly price. It was designed to yield returns in the first month by pairing an affordable subscription with the ability to use your own hardware.
Configure Self-Service Kiosk
1. Navigate to Register Management from the left menu.
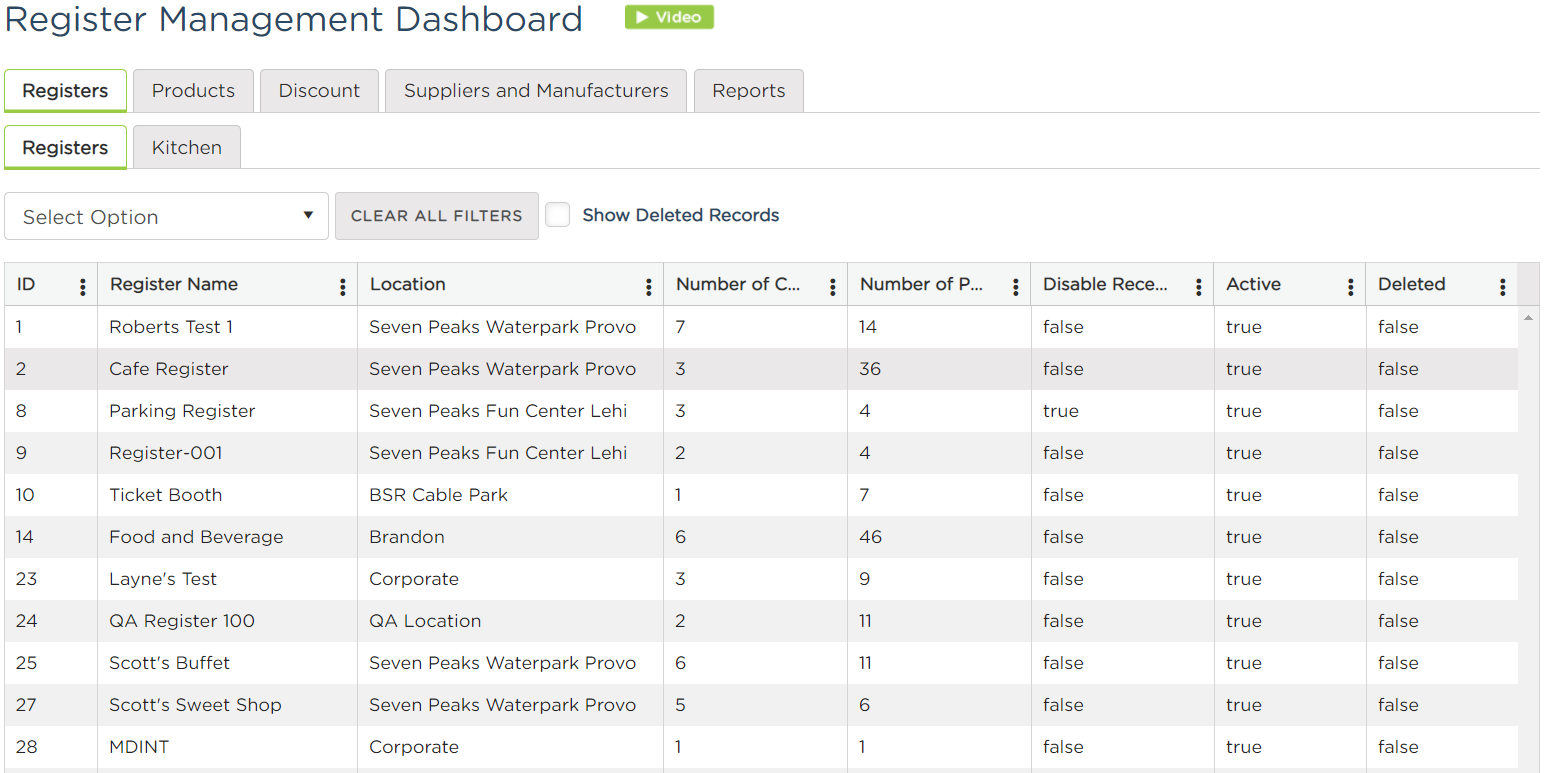
2. Click on the Registers tab, and then click the Registers sub tab. Find the register you want to convert into a kiosk and double click on it to edit.
3. Click the Kiosk Settings tab and check the box to Enable Kiosk. Fill in all the necessary fields to configure the kiosk.
- Primary color - the primary color scheme for the kiosk.
- Disable paper receipt - check this box if you do not have a printer attached to the kiosk.
- Show e-mail address - check whether the email address field for a receipt will be shown.
- Hide Info Step - During the checkout process, there is an "info" step that asks for the customer's name, you can remove this step by checking this box.
- Allow Payment at Counter – this option will allow the customer to "save' the order in the saved order area of the employee portal, and then the employee can "load" the order into the employee register and checkout with any payment, including cash, credit, gift, etc.
- Enable Ticket Print – this option is ONLY for printing pre-purchased tickets. customers who buy online and receive a PDF ticket. They can use this feature to scan the PDF ticket and have it print the "secondary template" (wristband, boca, zebra, etc). this same function is the same as the "print" tab in the WILL CALL module.
- Disable Product Purchase – when you enable the "enable ticket print" option, the kiosk prompts the user right at the beginning of the flow with two buttons, (1) purchase products or, (2) print prepurchased tickets. disabling this will remove the first button, and that makes the kiosk ONLY used for printing pre-purchased tickets, and you can't buy anything.
- Remove On Screen Keyboard – check this box if do not want to show the on-screen keyboard.
- Enable Credit Swipe – check this box if you have a credit card swiper attached to the kiosk.
- Enable Credit Input – this option is to manually input the card details into a credit card form. Customers can use the on-screen keyboard, a real keyboard, or their phone keyboard if it's on mobile.
- Disable Scan Option – this option is for printing pre-purchased tickets, you can either scan using a scanner or manually input the ticket. Disabling this will remove the option to use a scanner. You would only do this if the kiosk doesn't have a scanner for scanning barcodes on the PDF ticket.
- Require Waiver – the customer will sign a waiver form as part of the kiosk checkout process, before the payment step. Adjacent to this section, choose which waiver you need them to sign on the waiver drop-down list.
- Consume on Print – check this box if you want to consume the secondary template ticket upon printing which is associated with the customer's pre-purchased PDF tickets. This is ONLY applicable to the "Enable Ticket Print" option for printing pre-purchased tickets.
- Thank You Page Text - the text that will appear when the transaction has been completed
- Landing Page Image - the default image for the landing page when the kiosk is inactive
- Call Name Label - define how you will call for the order, e.g. customer's name, table number, etc.
- Inactivity Timer - the amount of time of inactivity before the kiosk will send the user back to the landing page image at the beginning.
- Timer after transaction - the amount of time that the "Thank You" page will display before the kiosk will send the user back to the landing page image at the beginning.
4. Click Save Changes to proceed.
5. When everything is configured and you're ready to view the kiosk, click the Launch Kiosk button.
Comments
Please sign in to leave a comment.