-
Make sure the Zebra device is plugged in and it should have a solid green light displayed on the device. Also, make sure it appears in the control panel under devices and printers.
-
Go to https://www.zebra.com/us/en/support-downloads/printer-software/printer-setup-utilities.html and download the “Zebra Setup Utilities for Windows – 46MB”
-
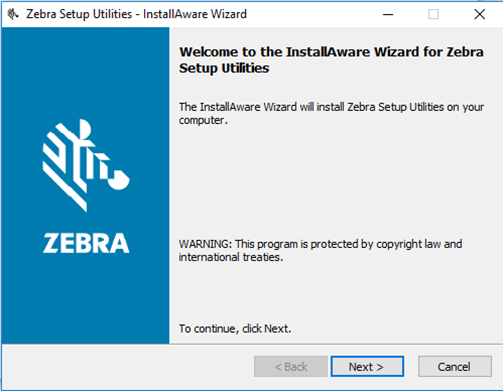
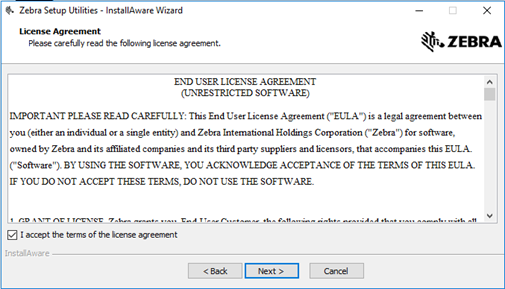
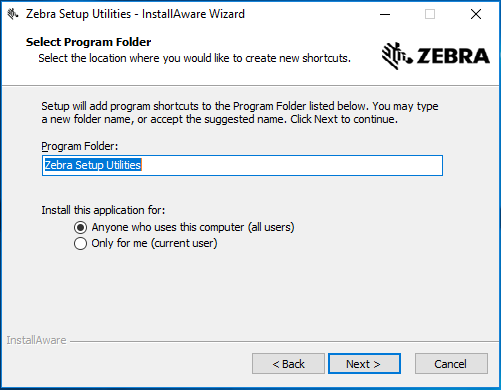
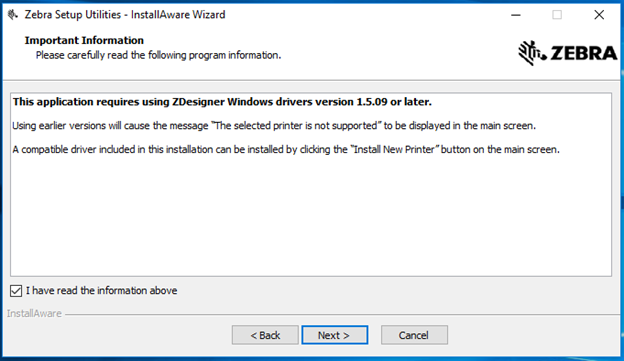
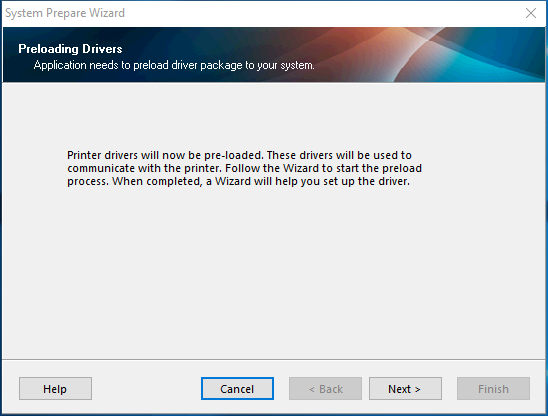
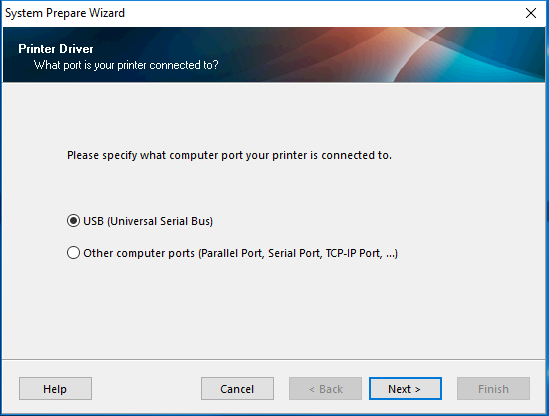
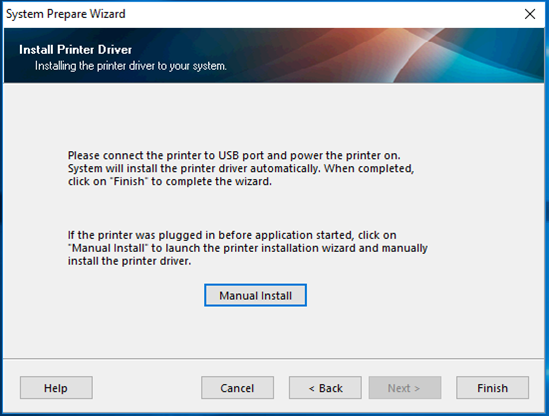
Once the Utility tool has been downloaded then run it and follow the prompts.


-
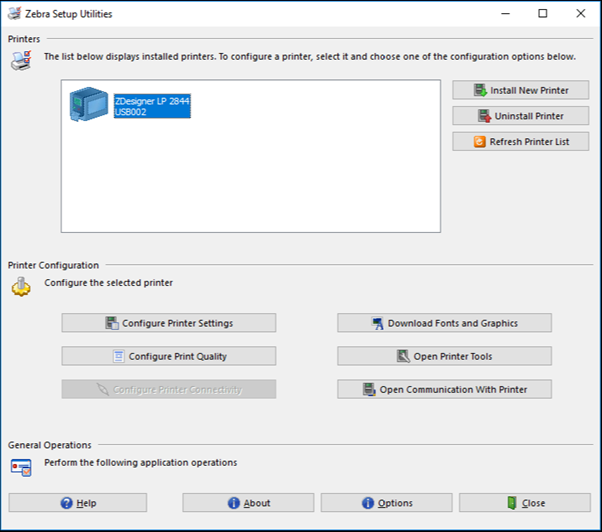
The printer device should show up in the empty white text field. Select it and then click “Open Printer Tools” and do a test print. If it does not show up then choose the "Install a new printer" option.
-
Now proceed with the Aluvii Service Installation and this printer should be detected by the Aluvii. If you don't know how to do this process, click here on how to download and install the Aluvii service.
-
However, if you already installed Aluvii before doing the process above, go ahead and refresh the Aluvii Management Portal so it would detect the newly installed Zebra printer. This process is found in steps 3 to 5 of our General Hardware Troubleshooting Guide.
Zebra Hardware Installation
Alfie
Comments
Please sign in to leave a comment.