What is an Assignment?
In the event management activity, you'll need to create an assignment for customers and employees to book or reserve a venue or site. An assignment contains all the rules and configurations driving a given booking option. For example, if you are a fun center renting out party rooms, and a customer wants to reserve party room 1 at 5 pm on July 4th, selecting that time slot will drive a whole set of rules including capacity, price, upsell options, FAQs, and Terms & Conditions. In addition, you might offer the same room for wedding receptions. In this case, a new assignment can be set up with its own rules and configurations even though it's in the same room.
How to create/edit an assignment
To create or edit an assignment, first, navigate to the Event Management activity in the vertical menu on the left. Then follow the steps below:
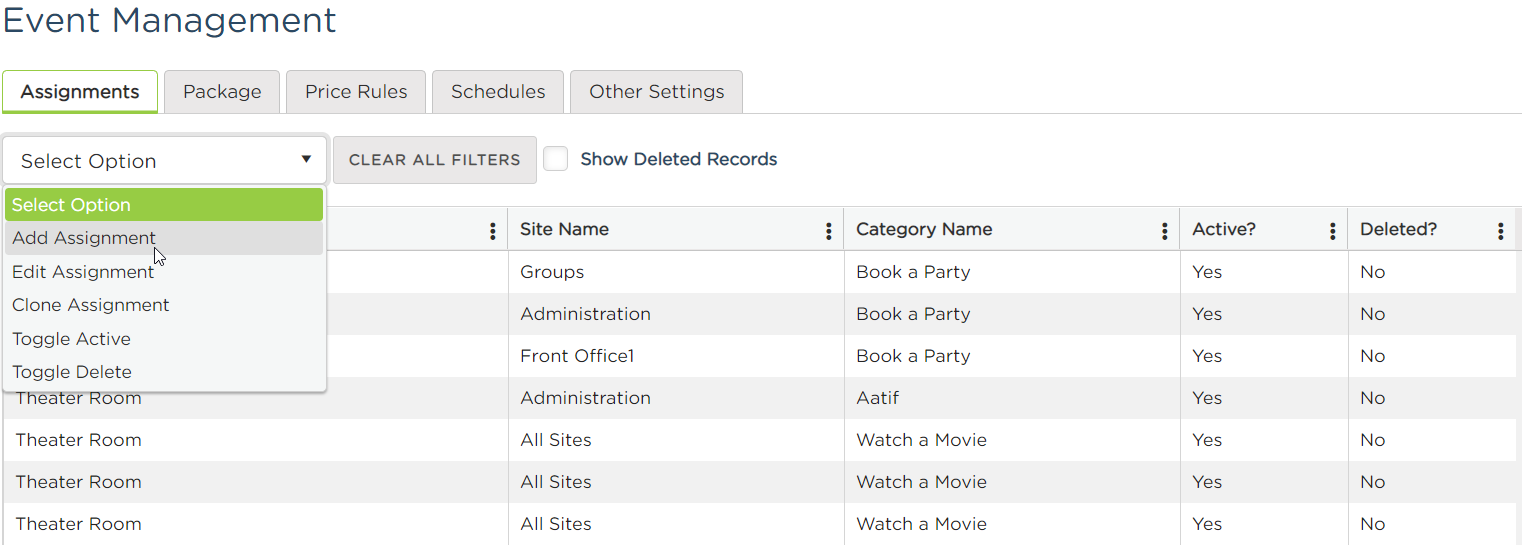
1. In the Assignments tab along the top, select Add Assignment from the grid drop-down options
2. Details Tab: In the first tab called Details, fill out all the relevant fields. See below for a detailed description of each field.
- Name - This will be the name of the event or party room you want to create.
- Category - All events or party rooms are in categories. For example, if it is a party room you are creating you would put this assignment under the category "book a party"
- Site - The site is what drives the location of the event. You can set up sites in the admin section of the Aluvii software. This is where customers will see the address as well as other site information and descriptions such as "McQueen Party Room 1". Click here to learn more about sites.
- Tax Option - This is where you assign the sales tax to be charged on this event. Click here to know more about tax options.
- Invoice - This is where you assign the invoice template you wanted to use for this event. Click here to learn more about the event invoice.
- Capacity - This is where you can designate how many people are allowed in this event or party room.
- Exclusive Use - Exclusive use means that even if one person group books this room the whole party room is booked. For example, if you mark "yes" under exclusive use then that particular room will show as reserved after one customer signs up for that room or event. If you mark "no" then multiple customers will be able to sign up for that event until the designated capacity is filled. An example of when you would mark "no" is if you are setting up a laser tag session and you want multiple groups to be able to sign up for that laser tag game.
- Accounting Code - This designates the code for accounting and reporting purposes. Click here to know more about accounting codes.
- Schedule - This is where you set the schedule for this event. Click here to learn more about schedules.
- Waiver Required - If you want the customer to sign a waiver for this event toggle "yes"
- Waiver - Once "waiver required" is enabled, it will ask which waiver you wanted to use for the event. This is where you choose which waiver template you want the customer to sign. Click here to learn more about how to create/edit waiver templates.
- Active/Deleted - This is where you can activate or delete an assignment.
- Advanced booking - This is where you can designate how many minutes or days before the start time a customer has access to that room and therefore can't be booked with someone else.
- Notification Email Recipients upon Booking - This is where you put in your email address if you want to receive a copy of the booking confirmation sent to the customer whenever they book this event. For multiple email addresses, you can separate them using semicolons.
- Only Send Notifications when Booked Online - when enabling this option, you will only receive copies of booking confirmations when they are booked online by your customers. You won't be receiving confirmations for parties booked by your Employees using the Bookings module.
- View on Event Portal - by default, this option is not enabled. Enable this option if you wish that this event will be available on your event portal so customers can book it online. Click here to learn more about the event portal.
- Apply Advanced Booking On Event Portal - To enable this option means you will apply the advanced booking option to the event portal so customers online won't be able to book the event prior to the time you have set.
- Show 'Pay Full Amount' to Guest - Enabling this option means that the customers online will have an option to pay the full amount of the event.
- Charge Full Amount - Enabling this option will force customers to pay for the full amount of the event upon booking.
- Prompt for Email on Event Portal - This will force customers to provide their email addresses at the start of the event booking process online.
- Hide booking end time from customer - Enabling this option will hide the end time of the event from the customers. They will be seeing the start time of the event but not the end time during the booking process. This data will also not show in invoices and receipts.
- Booking Link - The booking link is a link people can share with their friends. For example, if you are signing up for a laser tag game and you want your friends to sign up as well you can share that link and they can sign up for this particular session.
- Venue Image - This is where you upload the picture of the venue for the event.
- Description - This is where you can describe what this event/party room is for your customers to have more information.
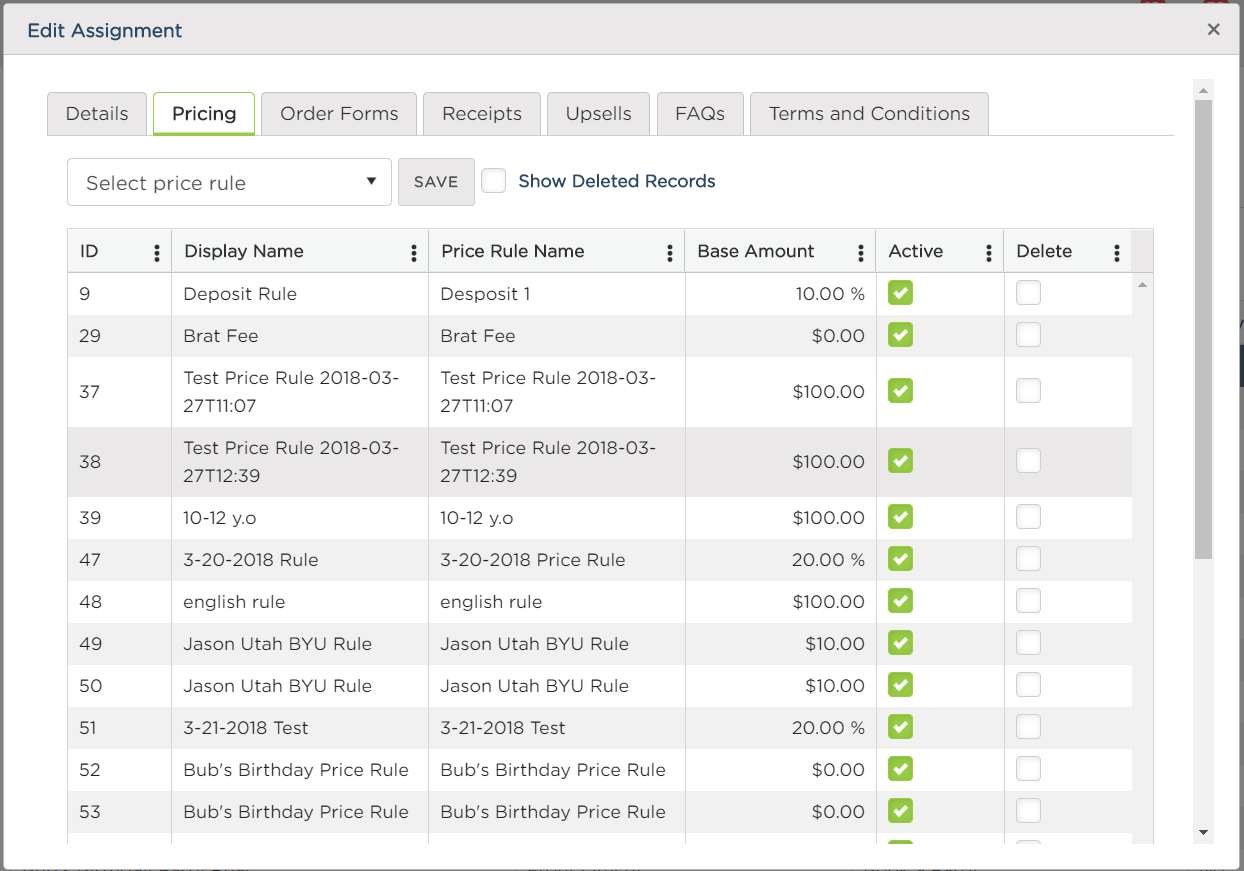
3. Pricing - select the pricing rules from the dropdown menu for this event. Click here to learn more about event price rules.
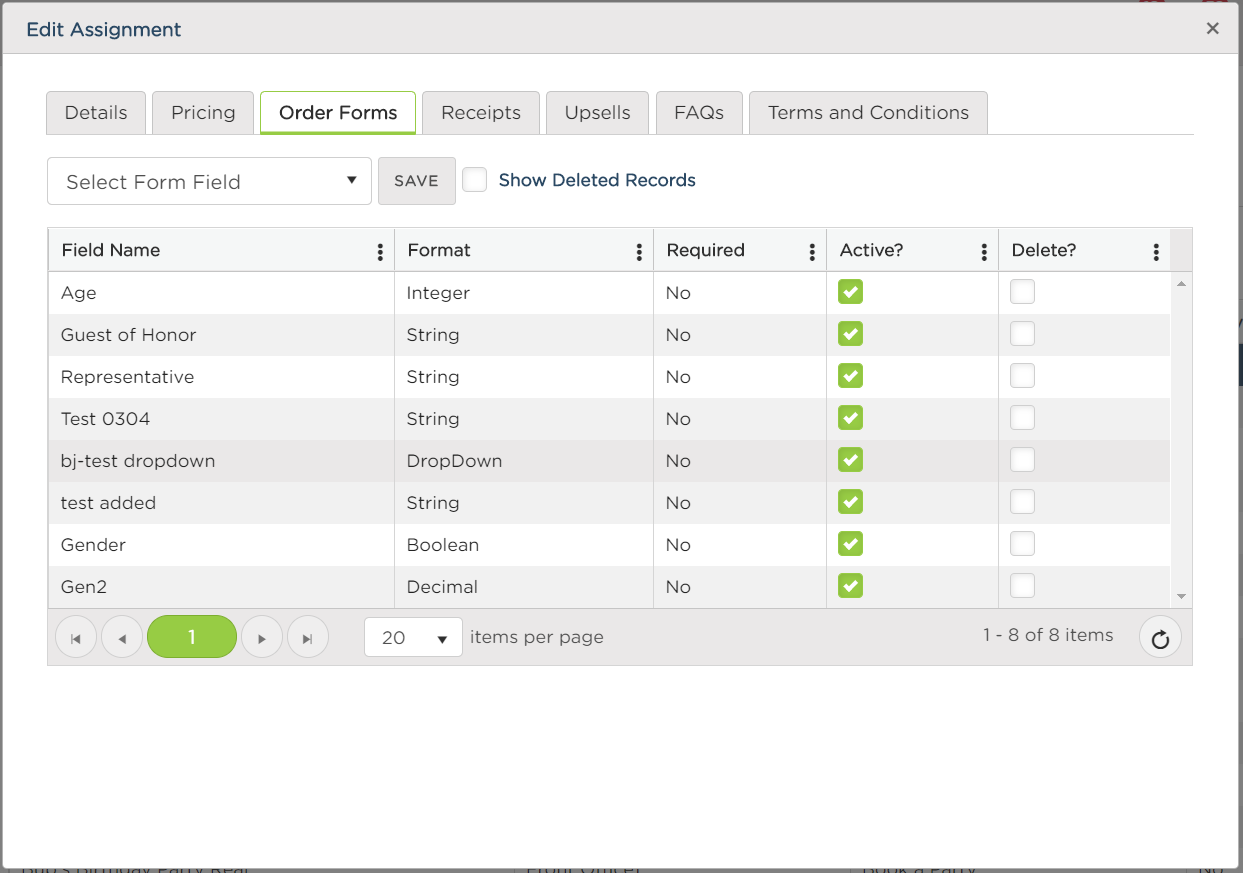
4. Order Forms - select the custom fields you wish to include in the event during the booking process. To learn more about custom fields, click here.
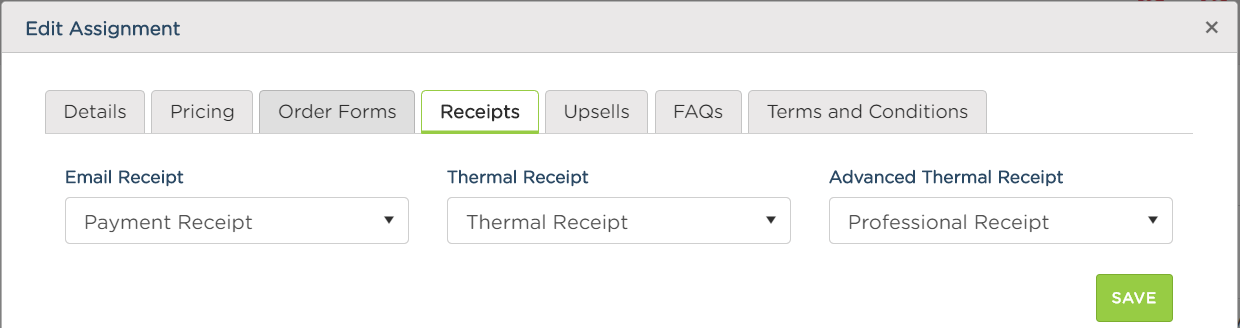
5. Receipts Tab: select the receipt formats for the receipts. To learn more about receipts, click here.
6. Upsells Tab - Select the upsell options for the assignment. This is where you add the products created in Register Management to upsell in this event.
All the products created in the Register Management > Products page will be searchable in the Select Product drop-down. Once found, define the Tax and Price of that product and click Save to proceed.
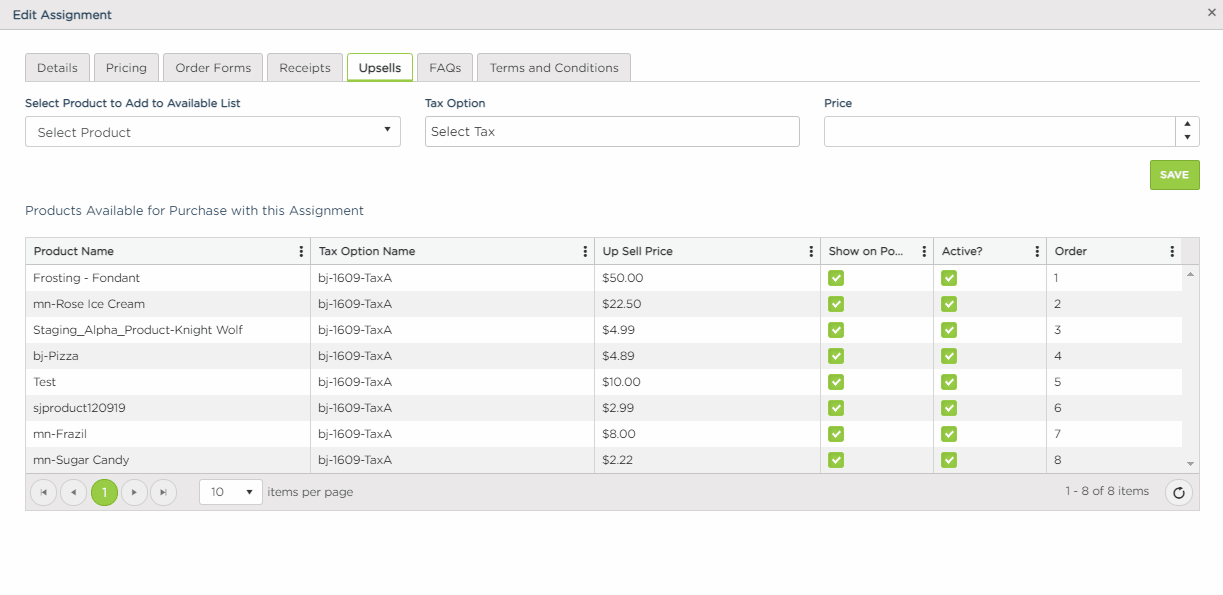
Note: You can change the order of the upsell by dragging and dropping the items based on your desired order. The order will autosave upon making the changes.
During the event booking process, customers will have an option to add these products to their event on the Customization page. Do you wish to upsell a product with an undefined price? Click here to learn more about how to do it.
7. FAQs - decide whether the FAQs will show up on the event portal

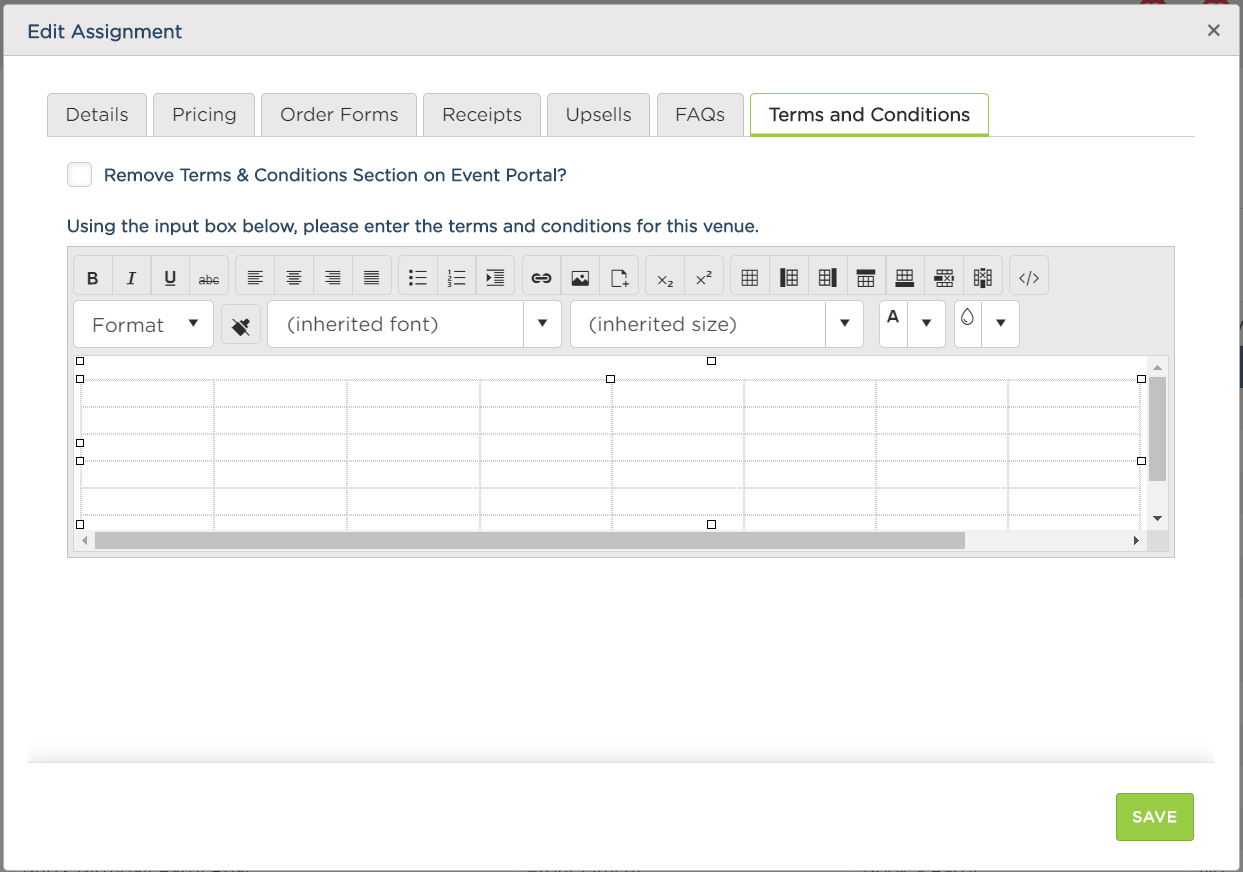
8. Terms and Conditions - select whether you want to remove the terms and conditions from the event portal. You can also define the terms and conditions from here.
Comments
Please sign in to leave a comment.